In this article, we will share our tried and tested recipe that is not only simple to follow but yields flavorful results that will leave your taste buds craving for more. Say goodbye to store-bought jams with preservatives, and embrace the freshness and natural goodness of homemade strawberry jam.
Introduction: The Beauty of Pectin-Free Jam
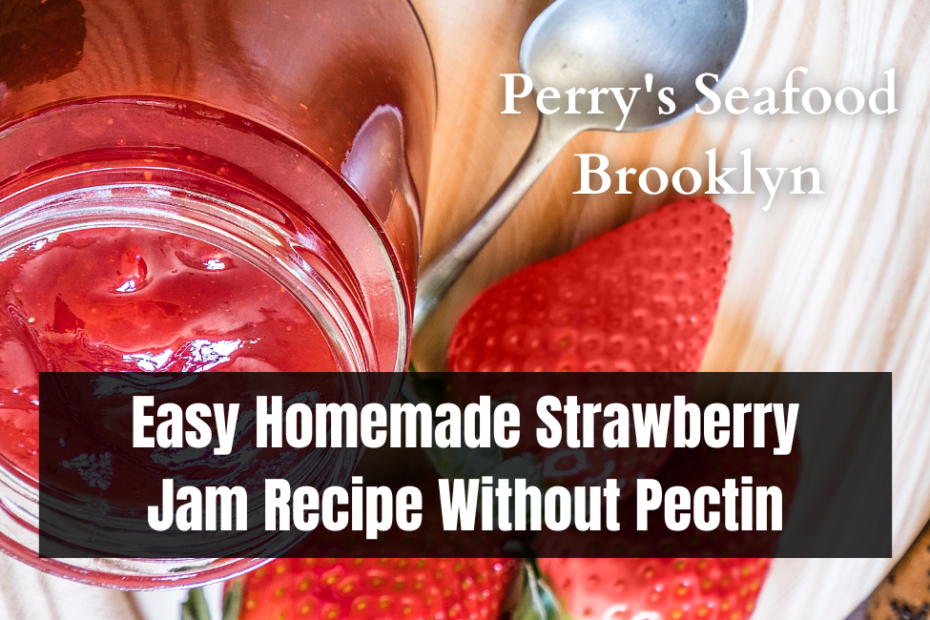
Pectin, a natural thickening agent found in fruits, is commonly used in traditional jam-making. However, we believe in simplicity and letting the natural flavors of strawberries shine through without the added pectin. Our recipe uses a few essential ingredients, resulting in a vibrant, sweet, and tangy strawberry jam that captures the essence of fresh strawberries.
Ingredients You’ll Need
To create your delightful homemade strawberry jam, gather the following ingredients:
- 2 pounds of ripe, fresh strawberries (washed, hulled, and chopped)
- 2 cups of granulated sugar
- Use 1/4 cup of lemon juice that has been freshly squeezed.
- A pinch of salt
Step-by-Step Instructions
Step 1: Prepare the Strawberries
Start by washing the strawberries thoroughly under cold running water. Once cleaned, remove the stems and hulls. Afterward, chop the strawberries into small, bite-sized pieces. This will ensure a smoother jam consistency.
Step 2: Macerate the Strawberries
Start by grabbing a big mixing bowl., combine the chopped strawberries with sugar and gently toss until the sugar evenly coats the fruit. Allow the strawberries to macerate for about 1-2 hours.
Step 3: Prepare the Cooking Pot
While the strawberries are macerating, take a heavy-bottomed saucepan or cooking pot and place it on medium heat. Add the macerated strawberries and any accumulated juices, lemon juice, and a pinch of salt.
Step 4: Cooking the Jam
Please be assured that once you heat the mixture, it will start boiling. Stirring it frequently will prevent it from burning. Once it reaches a boil, reduce the heat to low and let it simmer. Continue stirring occasionally to prevent sticking or burning. The jam will thicken as it cooks, and the strawberries will soften and blend.
Step 5: Check for Jam Consistency
After approximately 20-25 minutes of simmering, your strawberry jam should be ready. To check for the right consistency, take a small amount of mess and place it on a chilled plate. Allow it to cool for a few seconds. If it thickens and wrinkles when pushed with your finger, your jam is ready to be canned.
Step 6: Canning the Jam
While the jam is hot, carefully spoon it into clean, sterilized jars, leaving about half an inch of headspace at the top. Wipe the jar rims with a clean, damp cloth to ensure a proper seal, and then place the lids on the jars.
Step 7: Finalize the Canning Process
Process the filled jars in a water bath canner for 10 minutes to seal them effectively. This will preserve the jam and extend its shelf life. Once processed, remove the jars from the canner and allow them to cool completely before storing them in a cool, dry place.
Serving and Enjoying Your Strawberry Jam
Congratulations! You’ve successfully made your very own homemade strawberry jam without pectin. Now, it’s time to enjoy the fruits of your labor. Spread this delectable jam on your morning toast, pancakes, and waffles, or use it as a filling for pastries and cakes. The possibilities are endless!
Conclusion
Making your strawberry jam without pectin is a rewarding and fulfilling experience. By following our easy step-by-step guide, you can create a delightful spread bursting with fresh strawberries’ natural goodness. Say goodbye to store-bought jams filled with artificial additives and hello to a healthier, tastier alternative that you made with love. So, roll up your sleeves, grab those juicy strawberries, and let’s get jamming! Happy cooking!
Learn more: Air Fryer vs. Deep Fryer: What’s the Difference?